 |
|
|
Step
- by - Step How to
Click HERE to order T-20 parts off our 6x6parts.com website The T-20 Transmission first built by Borg-Warner,
and ATV-O-MATIC, now built by Skid Steer Corp. has been used in thousands
of Amphibious All Terrain Vehicles including Max II, Max IV, Attex,
Hustler , Starcraft, Swamp Fox, Camel and many other manufactures. It
as a popular choice of custom machine builders, since it gives forward,
reverse, brakes, steering all within one unit. We offer all replacement parts at Richard's Relices
Click HERE
for the parts pages. |
|
T-20
Assembly Step-by-Step guide Page 5 continued |
|
 |
|
 |
Click on PHOTOS to see larger view |
 |
Click on PHOTOS to see larger view
|
|
Sile
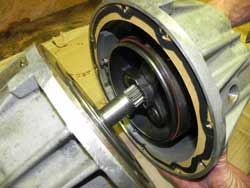
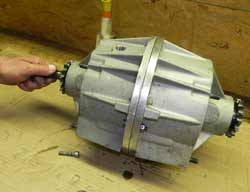
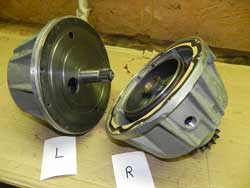
R side case assembly over sun gear and shaft of L case. |
|
Going
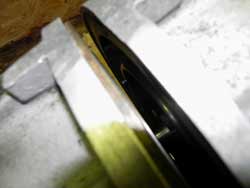
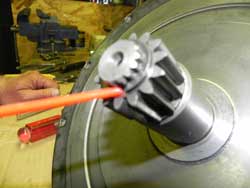
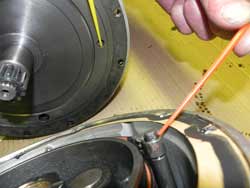
together, turn input shaft to locate sun gear in R case. Make sure band
anchor pin locates in center plate.
|
|
Hold
cases together while installing bolt. Do
not tighten at this point. Snug only. |
|
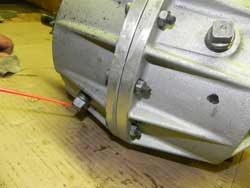
Turn case 180 degrees and install second bolt. only snug.
|
|
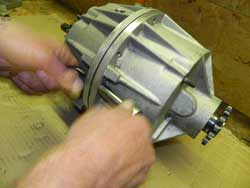
Turn
input shaft to insure gears have meshed. Install remainder
of bolts and tighten securely.
|
|
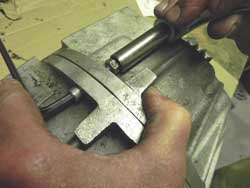
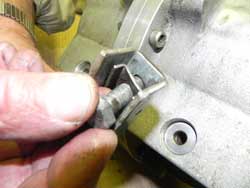
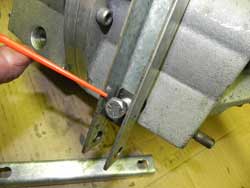
Install
bolts and keepers through brake levers and into plungers. Repeat to install all four plunger bolts. |
|
Ready
for band adjustment See BAND ADJUSTMENT
section HERE |
|
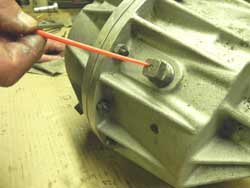
Install
vented fill plug in R case NOTE: As shown by red pointer. |
|
Install
lower lever plug in L case, install fluid Trans holds: 28oz of Dextron III 4oz of GM Rear end differental additive, this additive can be purchased at auto parts shops. See CHECKING OIL LEVEL section HERE Congratulations you are ready to install back in your machine. Click on PHOTOS to see larger view |
Go back to PAGE 4 Go back
to START OF ARTICLE PAGE 1 |
|
| If
you have any questions, you welcome to contact us at richard@route6x6.com Replacement
parts available at RICHARD'S RELICS
ATV Transmission parts page |
|
| Home | About This Site | New Toys | Information Bank | What's New | Blast From The Past | Museum | Tips | Photo Gallery | How To | FAQ'S | Memory Lane | Classifieds | Discussion Boards | Cartoon | Events | Shoppe | Parts for ATV's | Owner Registry | Links Webmaster: For questions or comments
|
|

