 |
|
|
Step
- by - Step How to The T-20 Transmission first built by Borg-Warner, and
ATV-O-MATIC, now built by Skid Steer Corp. has been used in thousands
of Amphibious All Terrain Vehicles including Max II, Max IV, Attex,
Hustler , Starcraft, Swamp Fox, Camel and many other manufactures. It
as a popular choice of custom machine builders, since it gives forward,
reverse, brakes, steering all within one unit. We offer all replacement parts at Richard's Relices
Click HERE
for the parts pages. This page is designed to be printable
by ROUTE6x6 and RICHARD'S RELICS |
|
T-20
Tear Down Step-by-Step guide Page 1 |
|
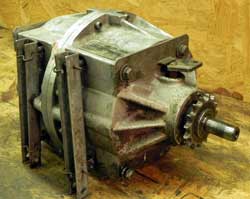 |
Always disconnect
negetive battey cable before servicing your machine. If you are having trouble removing clutch, click HERE Put T-20 on a clean work bench, you will need room to store all the
parts. We will talk about inspection of the parts in the next HOW TO
section, click HERE to see it.
|
 |
Click on PHOTOS to see larger view |
 |
Click on PHOTOS to see larger view
|
|
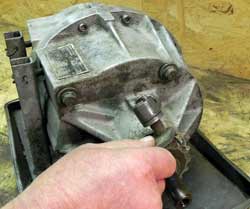
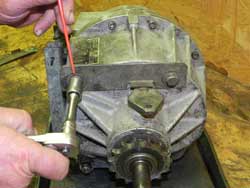
Shifter
out. |
|
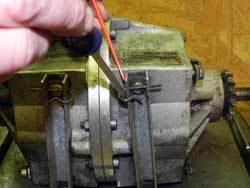
Remove
4 hair pin clips from brake lever channels as shown.
|
|
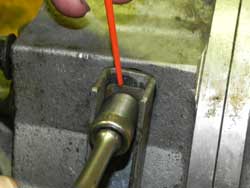
Remove
all 4 plunger adjustment bolts, do not worry about marking bolt ajustment,
we will tell you how to adjust the bands later. |
|
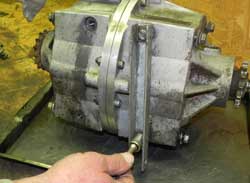
Repeat
above steps to remove all 4 bolts and lift channels away.
|
|
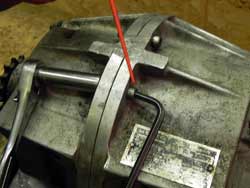
Remove
the 9 bolts surrounding the center of the case.
|
|
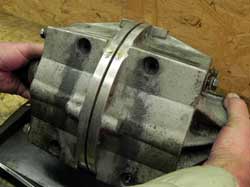
Pull
on both sides of the trans to seperate the case halfs, sometimes you will
need to wedge a screwdriver in between caes and center plate to free stuck
gaskets. Hint: The right side will come off the left side, seperated by a center plate, which at this point will stay attached to the left side. The left side is the half with the clutch shaft. |
|
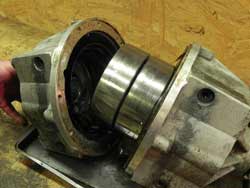
Cases
coming apart. NOTE: Drum assembly may stay on the case half as shown, or they may stay in the case. Click on PHOTOS to see larger view |
|
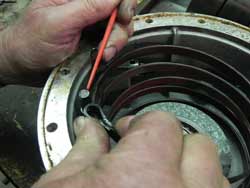
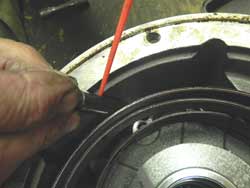
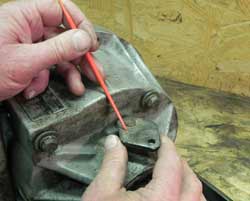
Remove band loop off pin, shown by red pointer. |
|
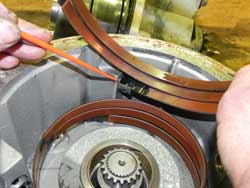
Remove
pin and band seperation sleeve as shown by red pointer. Click on PHOTOS to see larger view |
|
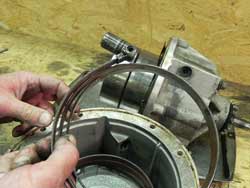
Pull bands and plungers out of the case.
|
|
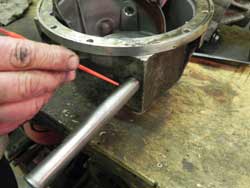
If
plunger will not pull out, you may need to lightly drive it out with
a drift, as shown by red pointer.
Click on PHOTOS to see larger view |
|
|
Band and plunger removed, repeat on other band. |
|
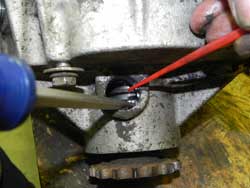
Remove
shift collar, by use of a screwdriver, prying the shift collar towards
inside of case, as show by red pointer.
Click on PHOTOS to see larger view |
|
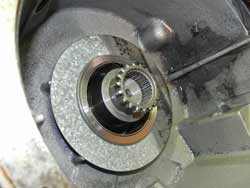
Shift
collar coming off, towards inside of case.
|
Go
to PAGE 2 |
|
| If
you have any questions, you welcome to contact us at richard@route6x6.com Replacement
parts available at RICHARD'S RELICS
ATV Transmission parts page |
|
| Home | About This Site | New Toys | Information Bank | What's New | Blast From The Past | Museum | Tips | Photo Gallery | How To | FAQ'S | Memory Lane | Classifieds | Discussion Boards | Cartoon | Events | Shoppe | Parts for ATV's | Owner Registry | Links Webmaster: For questions or comments
|
|

